Archive
Setting up the MDT Web Front End
At long last I managed to convince a customer to start using the MDT Database so that we could have more control over the deployment process and build in better automation. While I’d love to get into that topic at some point, for now just read the article over at Xtreme Deployment: http://deployment.xtremeconsulting.com/2009/11/24/understanding-the-mdt-configuration-database-part-1/
My customer is always worried about security and access to the MDT database (even though it happens to be deployed on the same server), I showed them the MDT web front end that I was running in my lab and they agreed it’d provide a better (and more secure) way to access and manipulate the MDT database. This is what helped get creating the MDT Database approved, since I showed the ability to manage and delegate access of specific and granular levels of control over MDT.
Since I couldn’t find any good deployment articles out there other than the install documentation on codeplex (found here), I figured this’d be a good first technical blog post.
Without further ado, here are the steps to deploy it:
Software Installation
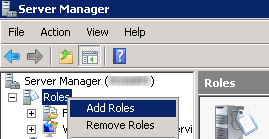
Install IIS Roles
|
Instructions |
Details / Screenshots |
“Server Manager”
|
 |
“Before You Begin”
|
 |
“User Account Control”
|
 |
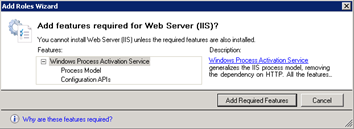
“Add features required for Web Server (IIS)?”
|
 |
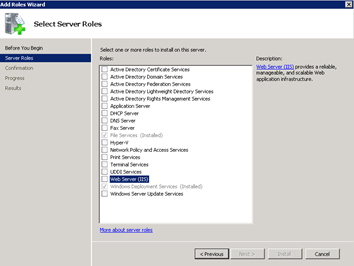
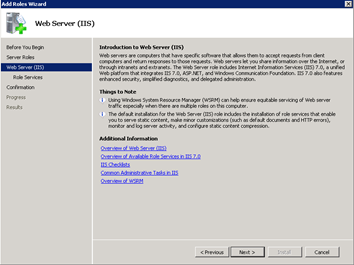
“Web Server (IIS)”
|
 |
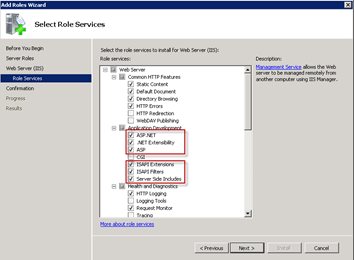
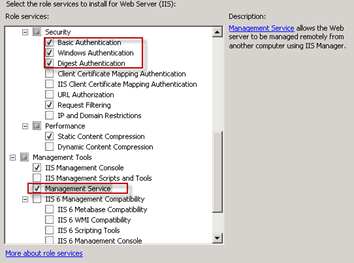
“Select Role Services”
“ASP.NET”, “.NET Extensibility”, “ASP”, “ISAPI Extensions”, “ISAPI Filters”, and “Server Side Includes”.
“Basic Authentication”, “Windows Authentication”, and “Digest Authentication”.
|
  |
“Confirm Installation Selections”
|
 |
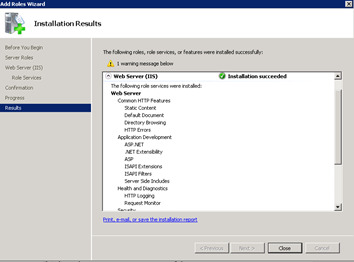
“Installation Results”
|
 |
Extract MDT Web FrontEnd Source
|
Instructions |
Details / Screenshots |
| Download software from http://mdtwebfrontend.codeplex.com/releases/view/35756 and extract to C:\Support\Downloads. | |
“Windows Explorer”
|
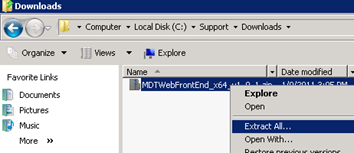 |
“Extract Compressed (Zipped) Folders”
|
 |
Add IIS 7 Web Application for the FrontEnd
|
Instructions |
Details / Screenshots |
“Server Manager”
|
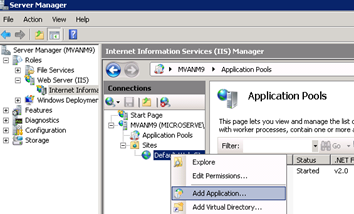 |
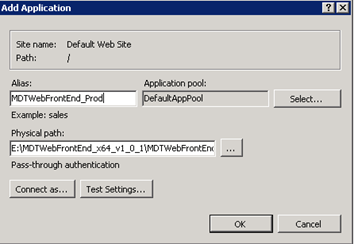
“Add Application”
NOTE: Repeat this process for each environment that needs to be managed by the MDT Web FrontEnd. |
 |
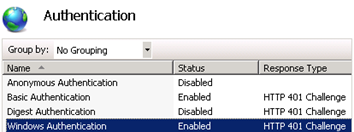
Configure IIS Authentication
|
Instructions |
Details / Screenshots |
“Default Web Site à [WebApp]”
|
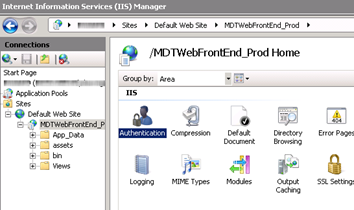 |
“Authentication”
|
 |
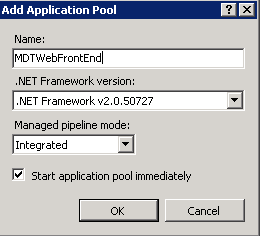
Create “MDTWebFrontEnd” Application Pool
| Instructions | Details / Screenshots |
“Application Pools”
|
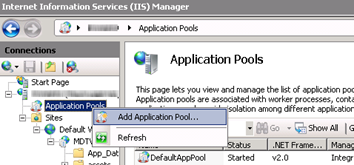 |
“Add Application Pool”
|
 |
Configure Application Pool Identity
| Instructions | Details / Screenshots |
“NNNNNNNN”
|
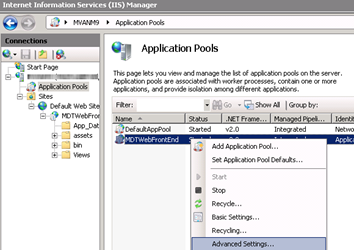 |
“Advanced Setting”
|
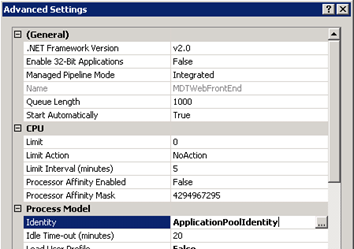 |
“Application Pool Identity”
|
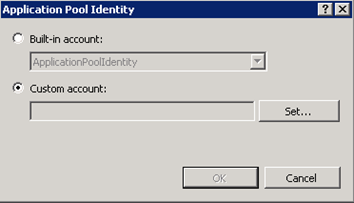 |
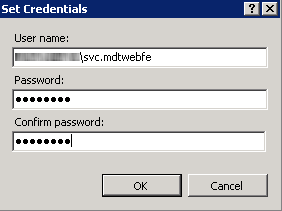
“Set Credentials”
|
 |
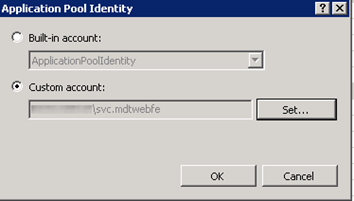
“Application Pool Identity”
|
 |
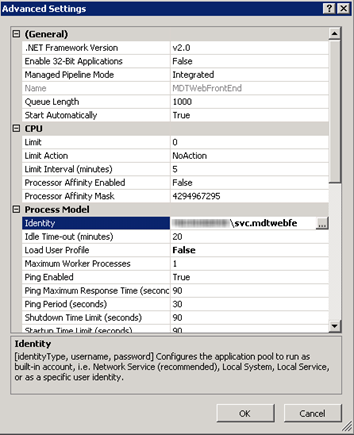
“Advanced Settings”
|
  |
Configure Web Application to use custom Application Pool
| Instructions | Details / Screenshots |
“IIS Manager”
|
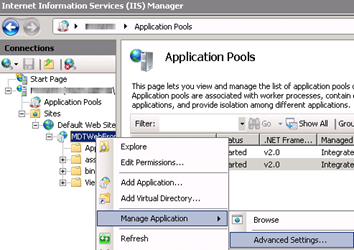 |
“Advanced Settings”
|
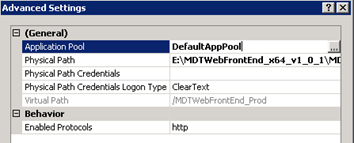 |
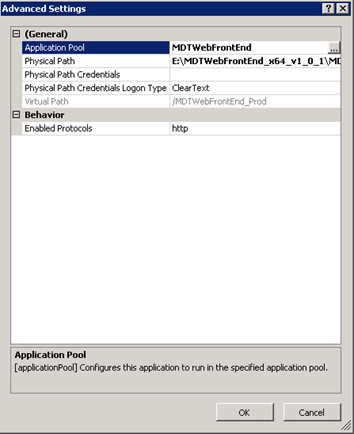
“Select Application Pool”
|
 |
“Advanced Settings”
|
 |
MDT Web FrontEnd Configuration
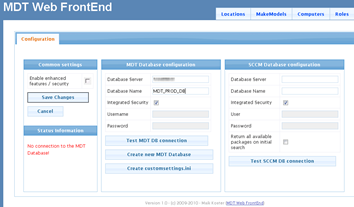
Configure Database Connections
| Instructions | Details / Screenshots |
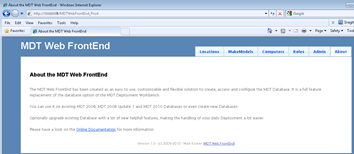
“Internet Explorer”
|
 |
“Configuration”
Confirm the connection is successful. |
 |
“Configuration”
|
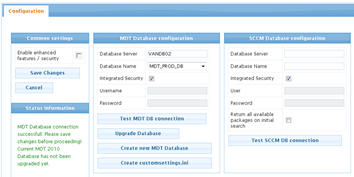 |
“Configuration”
|
 |
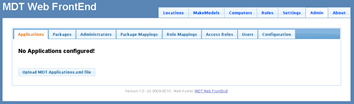
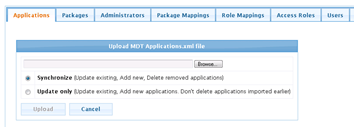
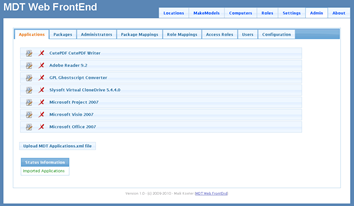
Upload MDT Applications
| Instructions | Details / Screenshots |
“NNNNNNNN”
|
 |
“NNNNNNNN”
|
 |
“NNNNNNNN”
|
 |
“NNNNNNNN”
|
 |
“NNNNNNNN”
|
 |
“NNNNNNNN”
|
 |
“NNNNNNNN”
|
|


